Quick and Easy Netgear Router Setup Guide for Home & Office
If you want to experience a fast, dependable, and secure Wi-Fi connection in your home or office, the Netgear router will be the best choice. If you have a Netgear router, the very popular Nighthawk router, then you can experience the ultimate in seamless connectivity, blazing-fast internet, and you can connect multiple devices with it. But to access the seamless internet, you must know how to perform Netgear router setup.
Whether you are setting up the router for the first time or replacing the old one to upgrade. This guide will walk you through the Netgear Nighthawk Router setup with straightforward instructions. Learning the setup process allows you to monitor the connected devices, manage the wifi network. Additionally, setting up the separate visitor network or parental network, etc. Below, we take you through the Netgear setup process step by step—from start to finish, including common troubleshooting.
What Is Netgear Router Setup?
A netgear router setup is the way you connect your router to the internet, adjust the settings and see the admin dashboard.
The Netgear Router Setup allows:
-
Manage connected devices:
Internet usage can be checked and device access can also be controlled. -
Set up security:
logging in to the admin panel allows you to create a password for the network, turning on security WPA3/WPA2. Also, making a guest network or setting parental controls over the network. -
Advanced features:
You can forward the port, handle the Qos (Quality of service), and more.
By setting the router in the right way, it makes the internet connection fast, secure, and stable.
Prerequisites for Netgear Router Setup
Before you jump into the steps, here are a few equipment and essential things you must have. These Netgear Router Setup requirements ensure a hassle-free router setup. Here are the prerequisites:
- Firstly, the Netgear Nighthawk Router
- Next, a Stable connection
- Then, a compatible device (A smartphone, laptop, or computer)
- After that, the Web / IP address
- Importantly, Login details
- Also, Power cords and a working power outlet
- Finally, Ethernet cable

Note: Keep all the prerequisites to ensure a smooth Netgear router setup without any interference or error.
How To Perform Netgear Router Setup
The fact is, setup can be a little bit complex sometimes. But, with the quick and straightforward steps below, you can set up the Netgear router in no time. Here are the steps to complete the setup:
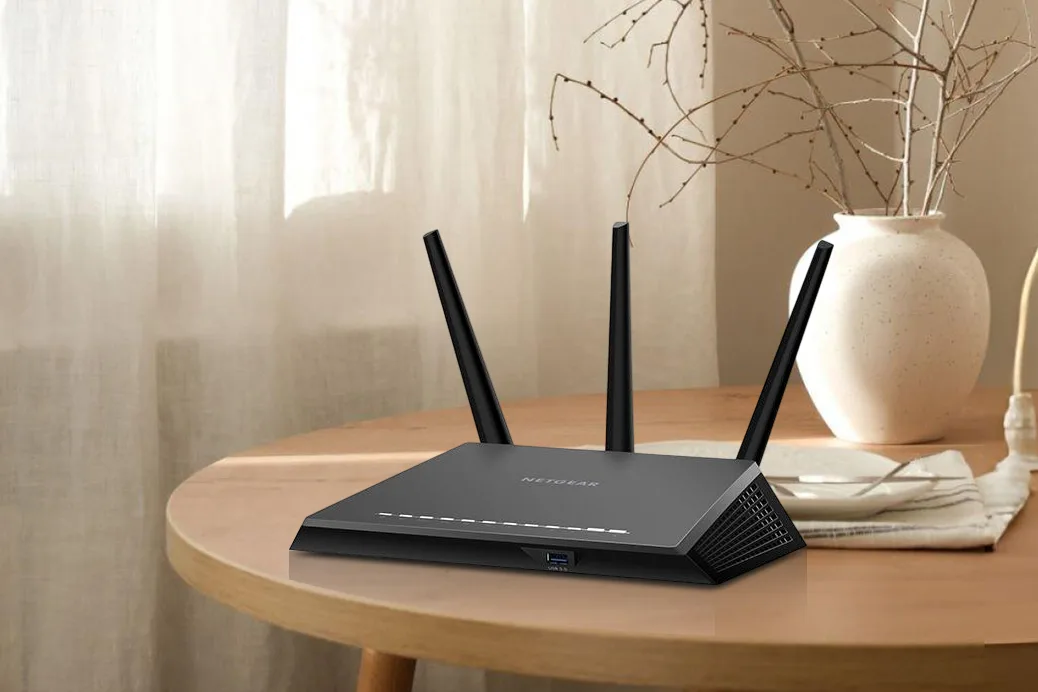
- Step 1: Pick a Good Spot
The first step is to locate a good place for your router. A rule of thumb is to put it a place that is approximately in the middle of your home. A basic guideline would be to place it at a point somewhere in the center of your house. In this manner, the Wi-Fi signal will be able to extend to every room. Besides that, do not let it be near heavy walls, metal things, or an appliance such as a microwave, which can cut off the signal.
Note: To enhance the network stability, position the router in the centre of the premises.
- Step 2: Plug It In and Connect to the Internet
Now, plug the router into the power source. Ensure that the power outlet is working properly. Once the router boots up properly, the LEDs will indicate.
Also, make sure you connected the WAN input to the Netagear router.
Note: While setting up the router, wait for the internet connection to be established, then move to the next steps. Check the LED status to confirm the internet connection.
- Step 3: Connect Your Device to the Router
Once the router is powered ON properly, now, connect your device to the router’s network. You can use a smartphone as a device for the wifi connection. However, for a stable internet connection, you can use an Ethernet connection.
Note: While you open the WLAN settings and scan for the network, the default SSID of the router will appear.
- Step 4: Access the Netgear Router Setup Page
Once you are done with the device connection, in this step, access the Netgear router admin dashboard. Let’s begin:
- Firstly, launch the browser and type routerlogin.net or routerlogin.com in the URL bar of the browser.
- In case the default web address is not reachable, you can access the Netagear router login page via 192.168.1.1 or 192.168.0.1.
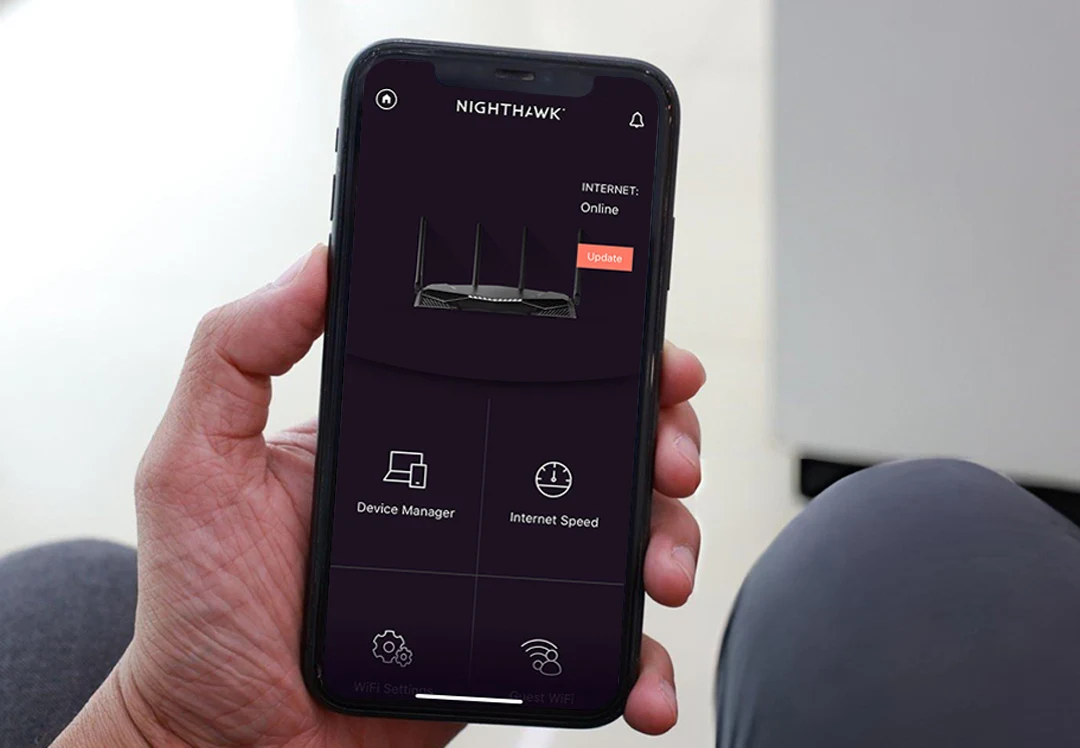
- Alternatively, you can download the NETGEAR Nighthawk WiFi Router app from the App Store to log in to the router admin panel.
Note: Make sure your device is connected to the Netgear router network only to access the setup page without any error.
- Step 5: Log In to the Admin Dashboard
On the login page, enter the correct username and password to log in. If you are signing in for the first time, enter the default credentials.
If you have previously changed the login credentials, use those details.
Once you log in successfully to the admin panel, you can configure the router settings, security, and advanced settings.
- Step 6: Configure Your Wi-Fi Settings
During the Netgear Router Setup, while configuring the router, set the unique SSID for both 2.4 GHz and 5 GHz frequency bands.
Secondly, choose the WPA3 / WPA2 encryption and set a strong password for the Netgear router’s network.
Also, you can create a guest network for the visitors in your house, which helps to secure the home wifi network from unauthorised users.
Additionally, if you want to restrict some websites or any content for your children, you can set parental controls over the network, etc.
Note: Avoid sharing the SSIDs and passwords or keeping the default login details.
- Step 7: Update Router Firmware
Next, head to the router’s firmware section and update the firmware if available. However, you can enable “Update Firmware Automatically”.
Note: It is recommended to keep the firmware file updated to access the features and the internet seamlessly.
- Step 8: Enable Advanced Features
Once the configuration is done, head to the Advanced settings, and you can configure the following options:
- VPN Setup
- Guest Network
- Quality of Service (QoS)
- Port Forwarding & Access Points
- Step 9: Test Your Network
Finally, you’re done with the Netgear router setup and can test the internet speed and stability. If there is any glitch or the network is not stable. You can power cycle the Netgear Router, which is helpful to fix any temporary errors in the network.
Common Errors During Netgear Router Setup
While the user is attempting the Netgear router login, sometimes errors can arise that will interrupt the setup process. The common Netgear Router Setup errors are:
- Unstable internet connection.
- Incorrect login details.
- Browser cache and cookies can interfere.
- Usage of the VPN / Proxy during the setup.
- Faulty cables.
How To Perform Netgear Router Setup
- First and foremost, unplug the hard-wire connections of the router and reconnect it.
- Next, make sure all the cables are working fine. However, if there is any faulty cable, consider changing it immediately.
- After power cycling the router, consider repositioning the router to the center of the premises for better internet stability.
- Ensure you enter the correct username and password. Also, take care of the case sensitivity.
- Navigate to the correct web / IP address and only download the latest version of the app.
- Clear the browser cache data and cookies. Either you can switch to another browser.
- If you are using any proxy / VPN while attempting to access the Netgear Router setup, it is recommended to disable the proxy / VPN.
Note: These are the troubleshooting steps, and if by following these, the error is coming up, then reset the Netgear router.
Best Practices for Netgear Router Setup
- Always note down the login details in your password manager or on notes.
- Consider updating the firmware on a regular basis.
- Set a strong password for the wifi network to avoid unauthorized access.
- Periodically, check the performance of the router.
Performing the Netgear Router Setup correctly is the key to having a Wi-Fi connection that is fast, safe, and stable anywhere in your home or office. Using this manual, you will be able to manage Netgear Nighthawk routers, install Wi-Fi, create passwords, set up VPN, and enable advanced features with no work at all.
FAQs
Q1: How to setup Netgear router?
Connect the router to power and the modem, connect your device to the Wi-Fi, access routerlogin.net, and follow the on-screen instructions.
Q2: What is the default Netgear router setup password?
The default username is admin and the password is password. You can change this in the admin dashboard.
Q3: How to setup Netgear Nighthawk router without the app?
Use routerlogin.net or the router IP address in a browser to access the admin dashboard and follow the setup steps.
Q4: Can I setup a Netgear router VPN?
Yes. Nighthawk routers support VPN setup via the router settings or the Nighthawk app.
Q5: How do I access the Netgear router setup page IP?
Open a browser and type 192.168.1.1 or 192.168.0.1 to reach the setup page.